Performer Creation and Authorisation is used to create new performers who have been added to the GDC register.
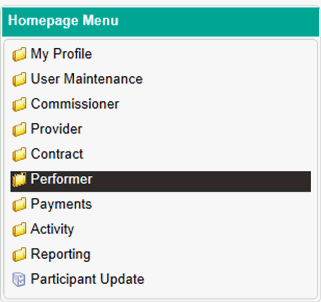
To access this area firstly navigate to the Performer folder located in the Homepage Menu.

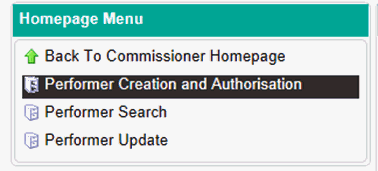
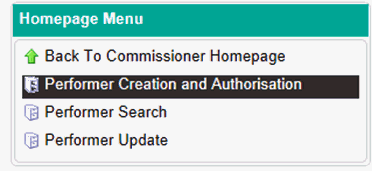
Then click on Performer Creation and Authorisation…
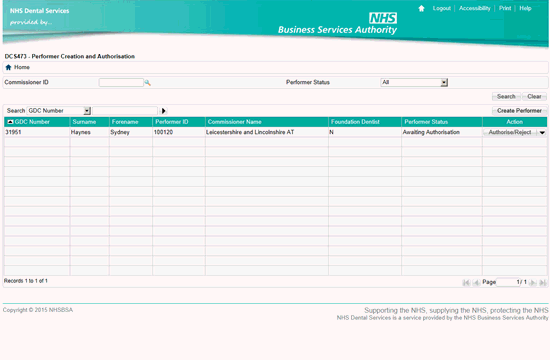
You will then be presented with the screen below.
Any performers which have been saved part way through creation or require authorisation will be displayed in this table which you can refine using the search options at the top.
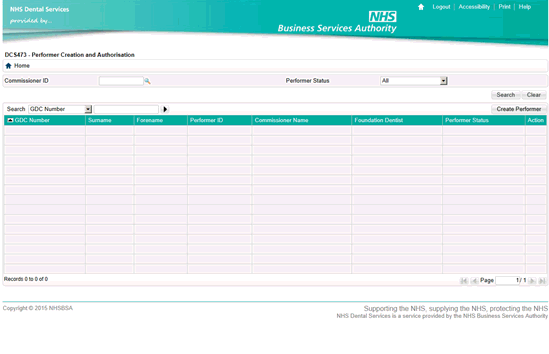
To create a new Performer, click on the Create Performer button at the top right hand corner of the table.
This will bring up the pop-up box displayed below…
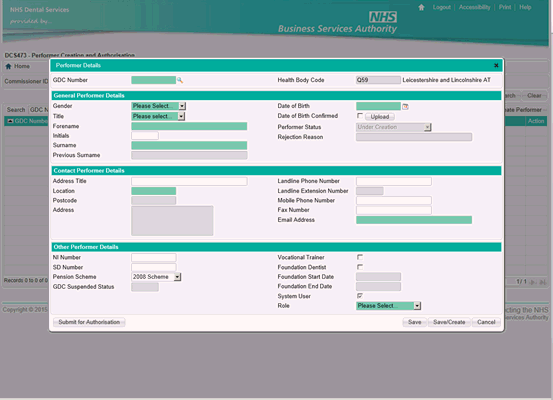
Mandatory Fields
GDC Number – enter the GDC number of the performer you wish to create or use the magnifying glass to search the GDC register.
Once this has been entered, this will populate the performers name automatically
Date of Birth
Location - Enter an existing Location ID for the Performer.
Email Address - This will be used as a correspondance email address and we will send an activation email here to create the performers Compass account if the System User box has been ticked
System User – Tick this box to give the performer access to Compass.
Role – The role chosen will give the user access to areas of Compass which are applicable to that user’s needs.
Please note, if the performer is a Vocational Trainer or Foundation Dentist, you will need to tick the box on this performer screen to be able to set them up in this role when adding them to a contract.
For further information on adding a Foundation Dentist to a contract, please see the help screen titled Allocation of Foundation Dentist to Contract.
Once all mandatory fields have been completed, click on Submit for Authorisation on the bottom left hand corner for a colleague to then authorise the entry or click Save on the bottom right hand corner to Save and return to finish at a later date.
Authorising a Performer Record
To authorise a completed Performer record, you will firstly need to navigate to the Performer folder located in the Homepage Menu…
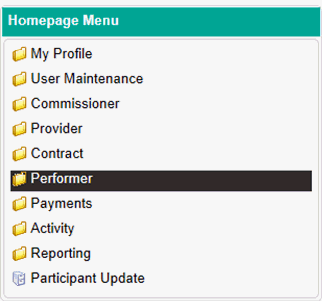
Then click on Performer Creation and Authorisation.
Any performers which have been created but require authorisation will be displayed in this table which you can refine using the search options at the top.
To authorise a record, click on the Authorise/Reject button in the Action column. This button will be displayed if the record has been submitted for authorisation by a colleague and it will be recorded as Awaiting Authorisation in the status column.
Once you have clicked this button you will be met with the pop up box below…
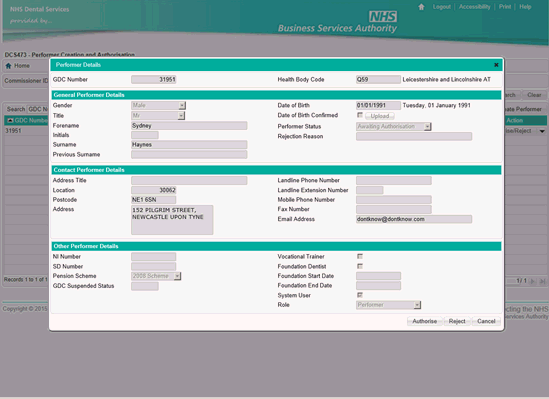
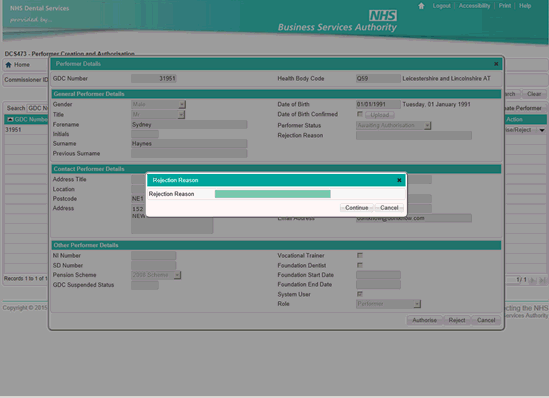
To authorise the entry, click on the Authorise button on the bottom right hand corner or click on the Reject button to reject the entry.
If the Reject button is clicked, you will need to enter a reason for the rejection as shown in the screen below.
