Once a contract has been submitted for authorisation following completing the contract setup wizard, a colleague will need to review these details and accept the entry to complete the setup process.
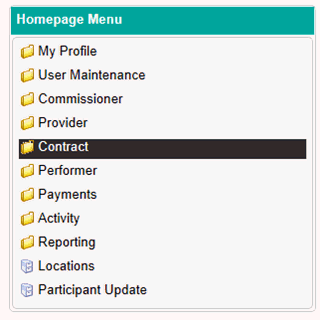
To access the authorisation queue for Contract Setup and Completion, firstly navigate to the Contracts folder of the Homepage Menu…
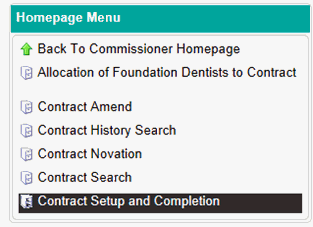
Then click on Contract Setup and Completion.
You will then be presented with the screen below.
Any contracts requiring authorisation will be listed in the table on this page. This can be refined using the drop down box and search field located above the table.
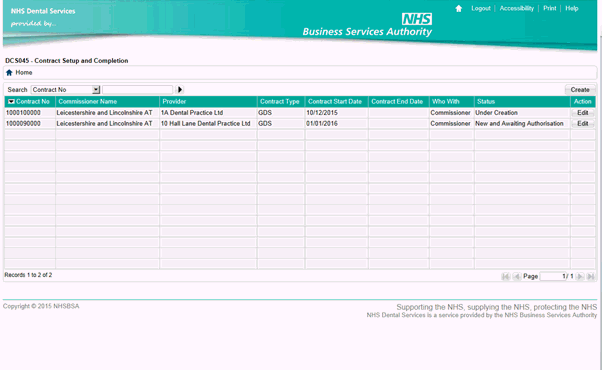
To authorise the contract, click on the Edit button in the Action column. This will take you to the contract summary screen as pictured below.
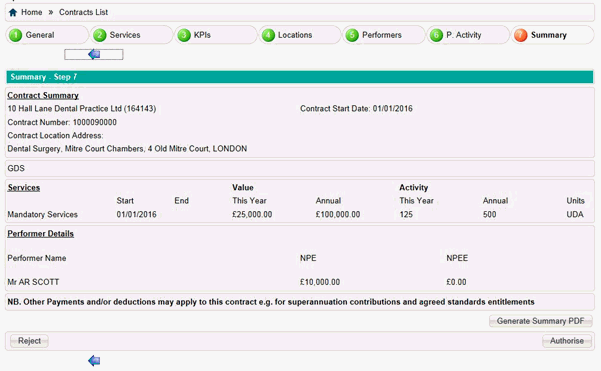
Before you authorise the contract, you can export this data to a PDF document to print by clicking on Generate Summary PDF on the bottom right hand corner.
If you wish scroll back to the earlier tabs of the setup wizard, use the blue arrow on the bottom left hand side of the screen.
Once you have reviewed the details, you can either authorise the contract using the Authorise button in the bottom right hand corner or reject the entry using the Reject button in the bottom left hand corner.
If you choose to authorise the contract, this will complete the contract setup process and a message will be displayed to advise you of the date for the contracts first pay run.
If you choose to reject the contract, a box will display where you will be asked to record the reason for the rejection as shown in the screen below.
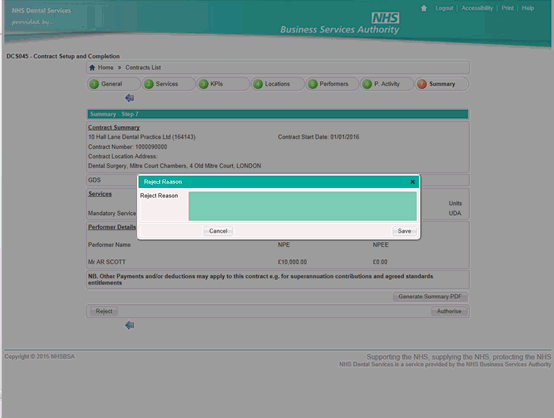
Enter the reason in this box and click Save to complete the rejection.